Replacing old and inefficient windows can improve your home’s energy efficiency, boost security, and enhance aesthetics. To ensure a seamless installation, accurate measurements are crucial. Improper sizing could lead to drafts, damage to the surrounding structure, or costly reinstallation.
This guide provides a clear, step-by-step process for how to measure for replacement windows, complete with helpful tips and common mistakes to avoid.
Why Accurate Measurements Matter for Replacement Windows
Replacing your windows isn’t just about aesthetics; it’s also about performance. Properly sized replacement windows ensure a draft-free, secure, and energy-efficient installation. Incorrect measurements can disrupt your project timeline and cost more to fix.
Getting the right windows starts with understanding the size of your old window and its rough opening, which includes the space between the studs in your wall.
Quick tip: Not all windows are standard sizes. Taking the time to conduct accurate measurements ensures you order the correct size for your space.
You’ll need just a few basic tools to get started, including a tape measure, pencil, and paper, or a smartphone for notes.
Step-by-Step Guide to Measuring for Replacement Windows

1. Prepare Your Workspace
Before you start, remove any trim strips or parting beads to access the whole window opening. This will ensure you’re measuring the window frame, not just the exposed parts. Be cautious not to damage the siding or surrounding structure.
Quick tip: Wear gloves and safety goggles while removing parts of the old window to avoid injury from splinters or broken glass.
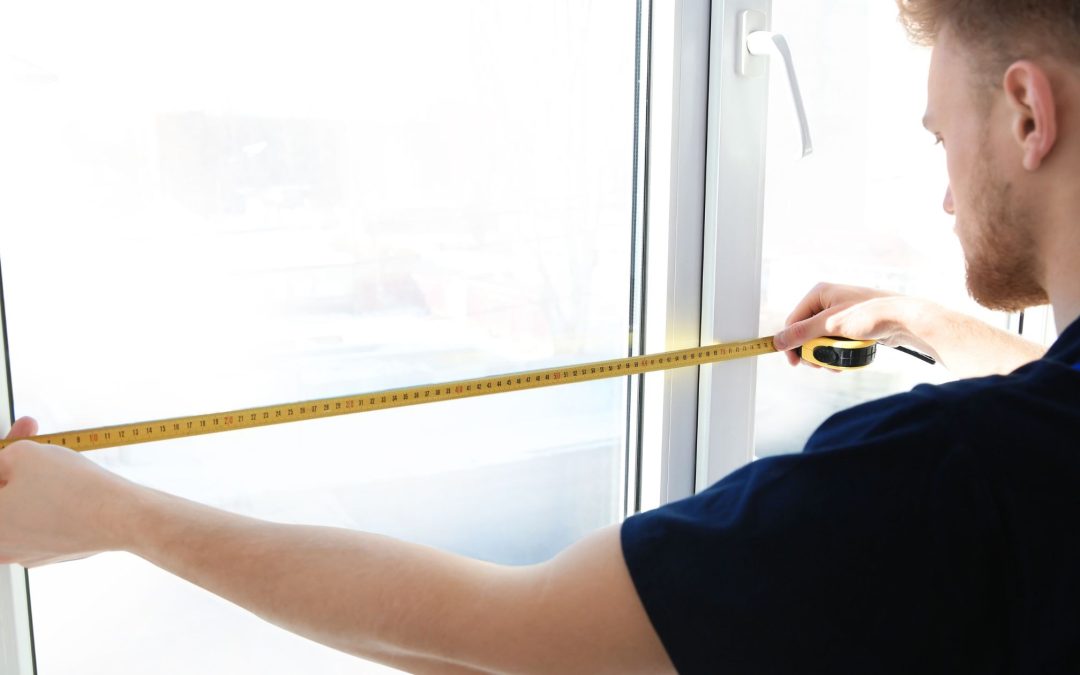
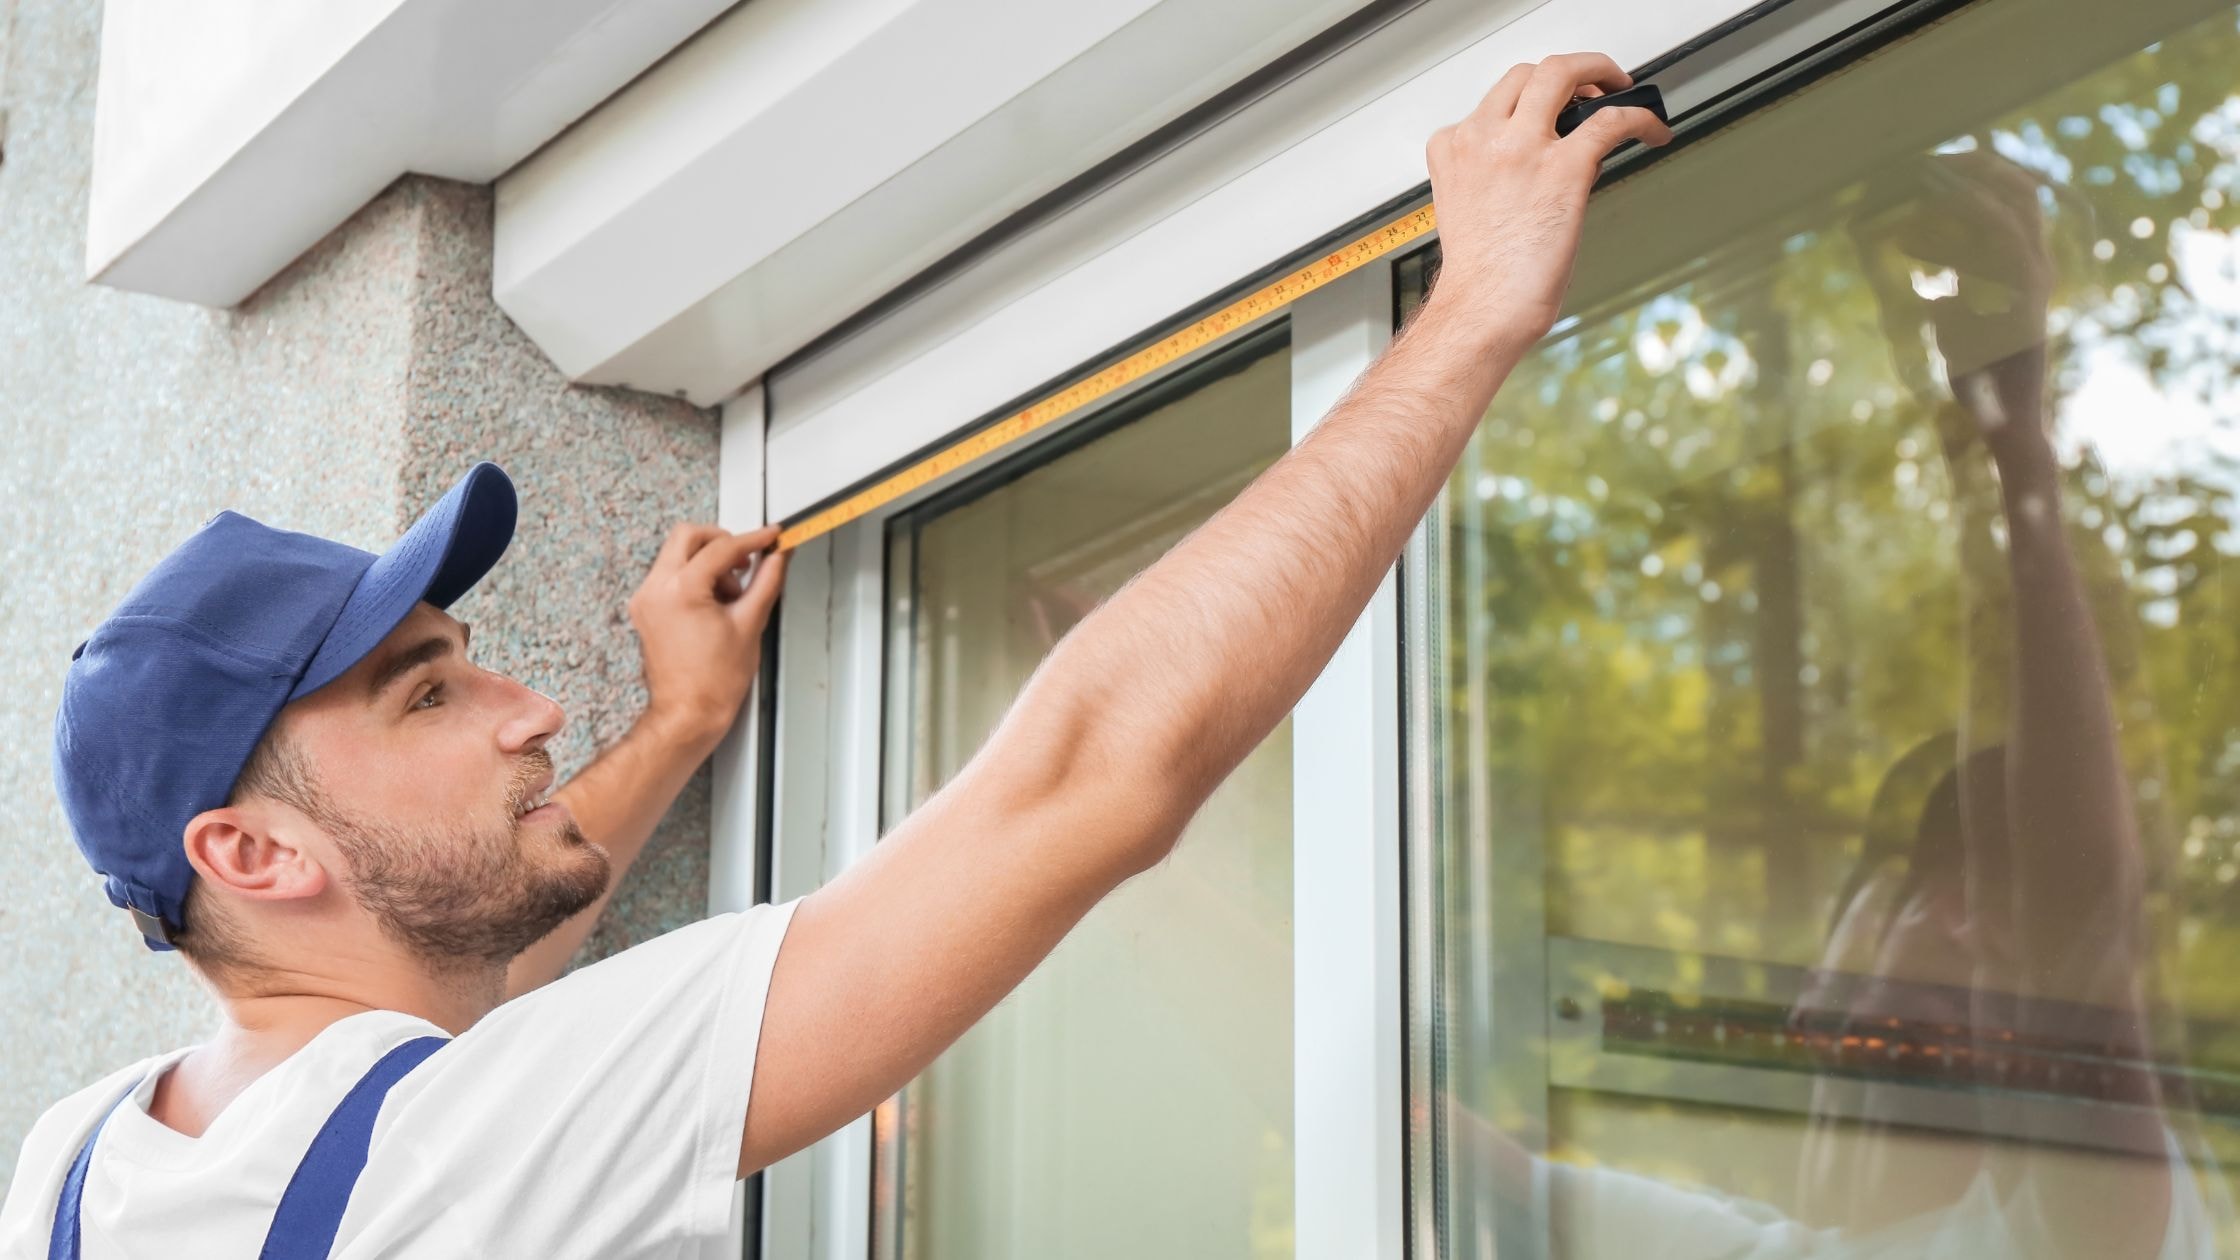
2. Measure the Width
Take three measurements horizontally across the window in different places:
- Top (near the top edge of the frame)
- Middle (around the center of the frame)
- Bottom (along the windowsill)
Take the smallest of these three sizes as your window width. This ensures the replacement fits the narrowest part of the space.
Important reminder: Measure windows from jamb to jamb, not including the trim.
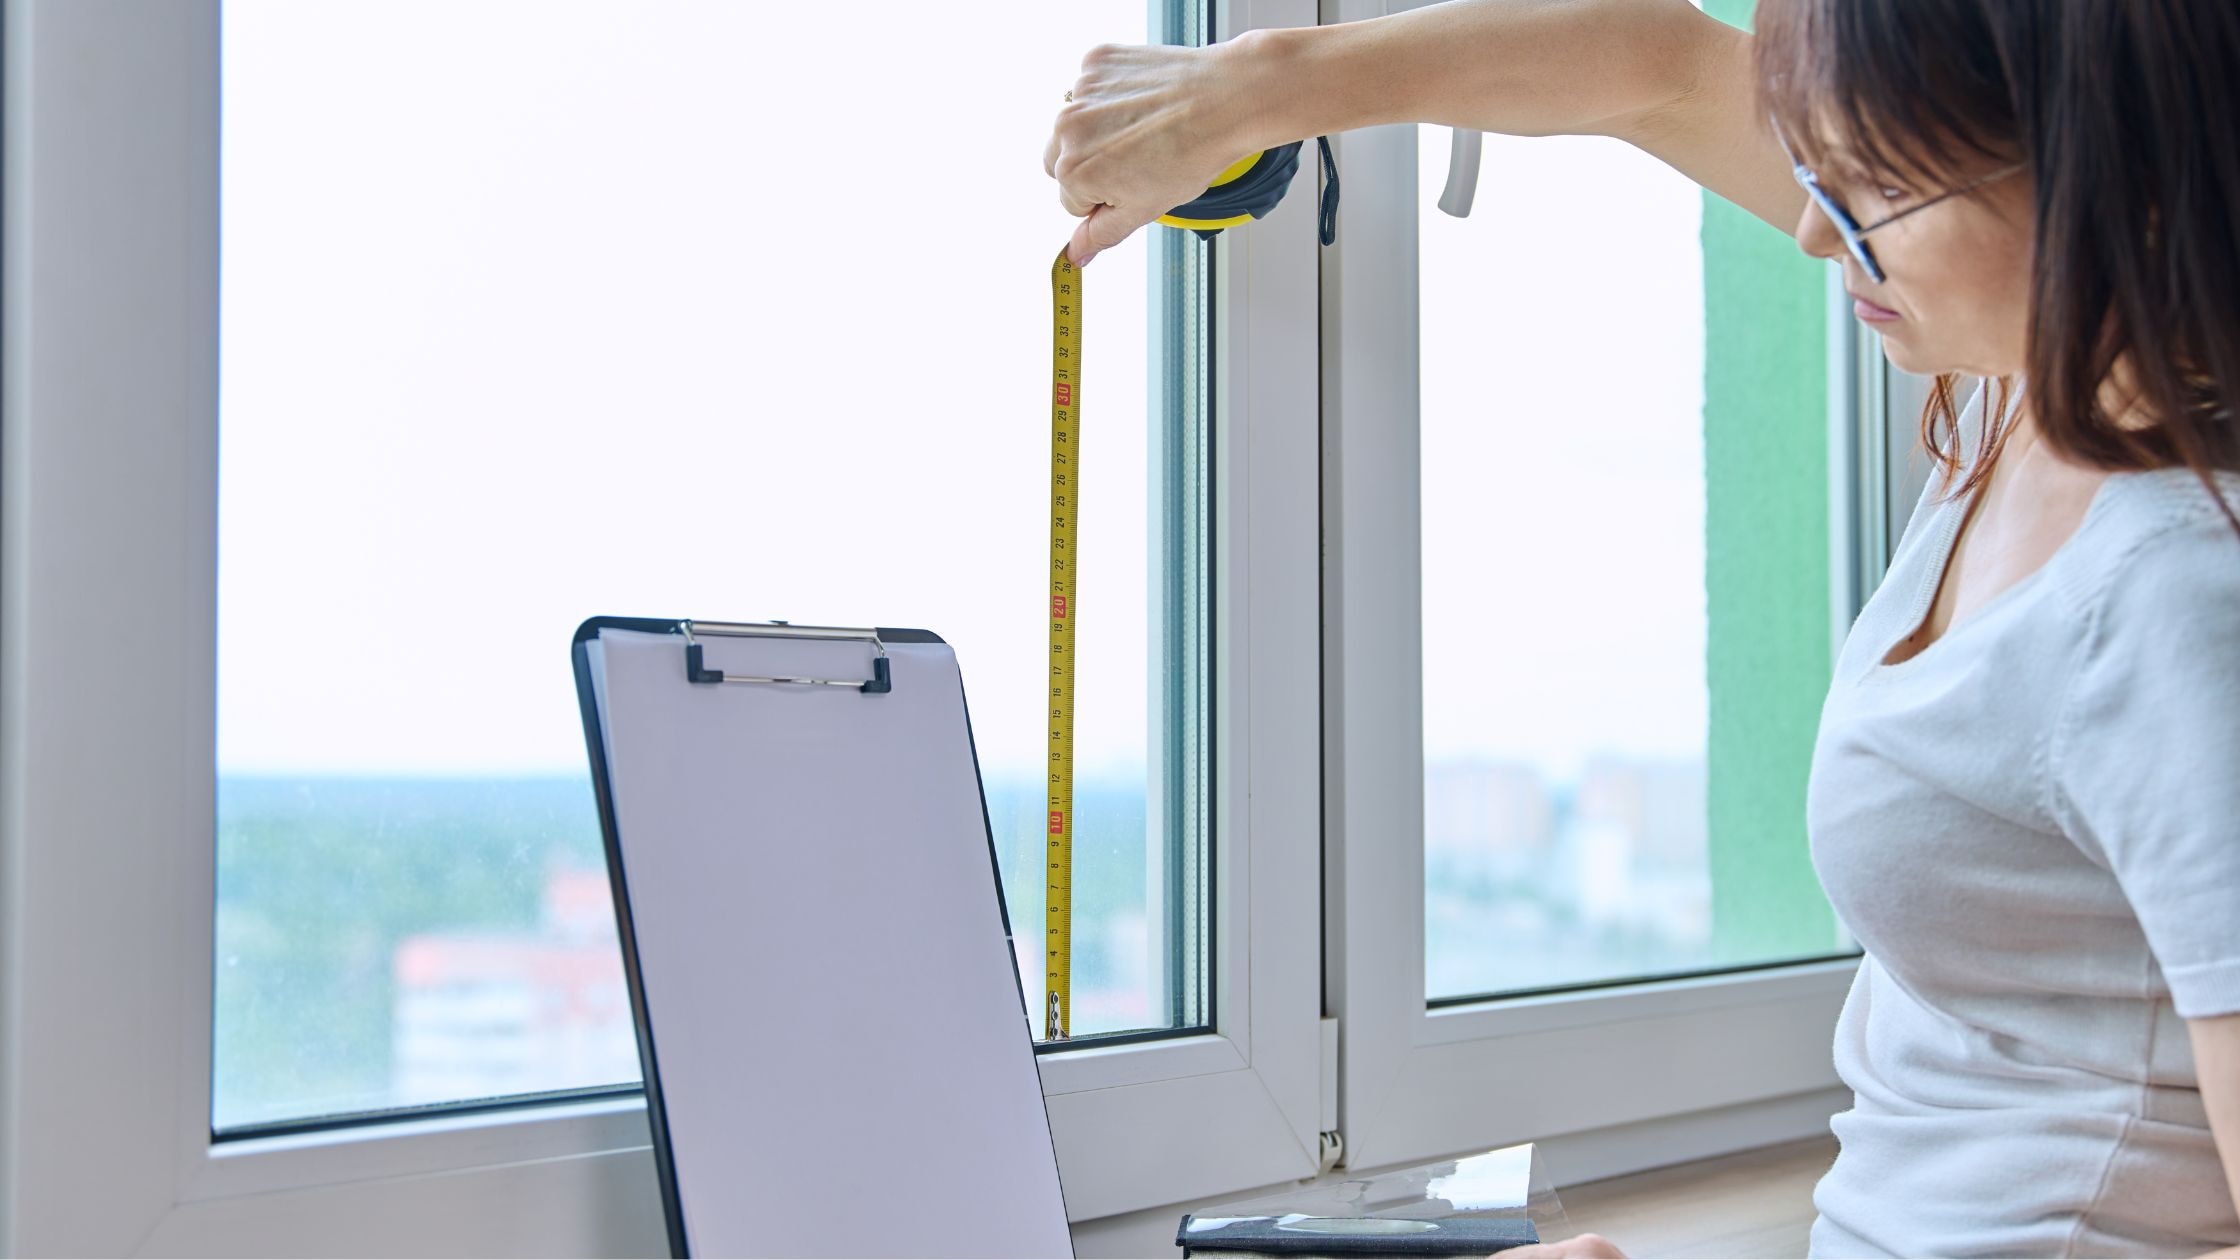
3. Measure the Height
Next, measure the vertical space in three spots:
- Left side (from top to bottom of the rough opening)
- Middle
- Right side
Once again, use the smallest measurement as the new window height. This guarantees a proper fit without forcing the window in uneven areas.
Quick tip: Double-check your height measurements to ensure accuracy. Even a difference of half an inch can lead to fitting issues.
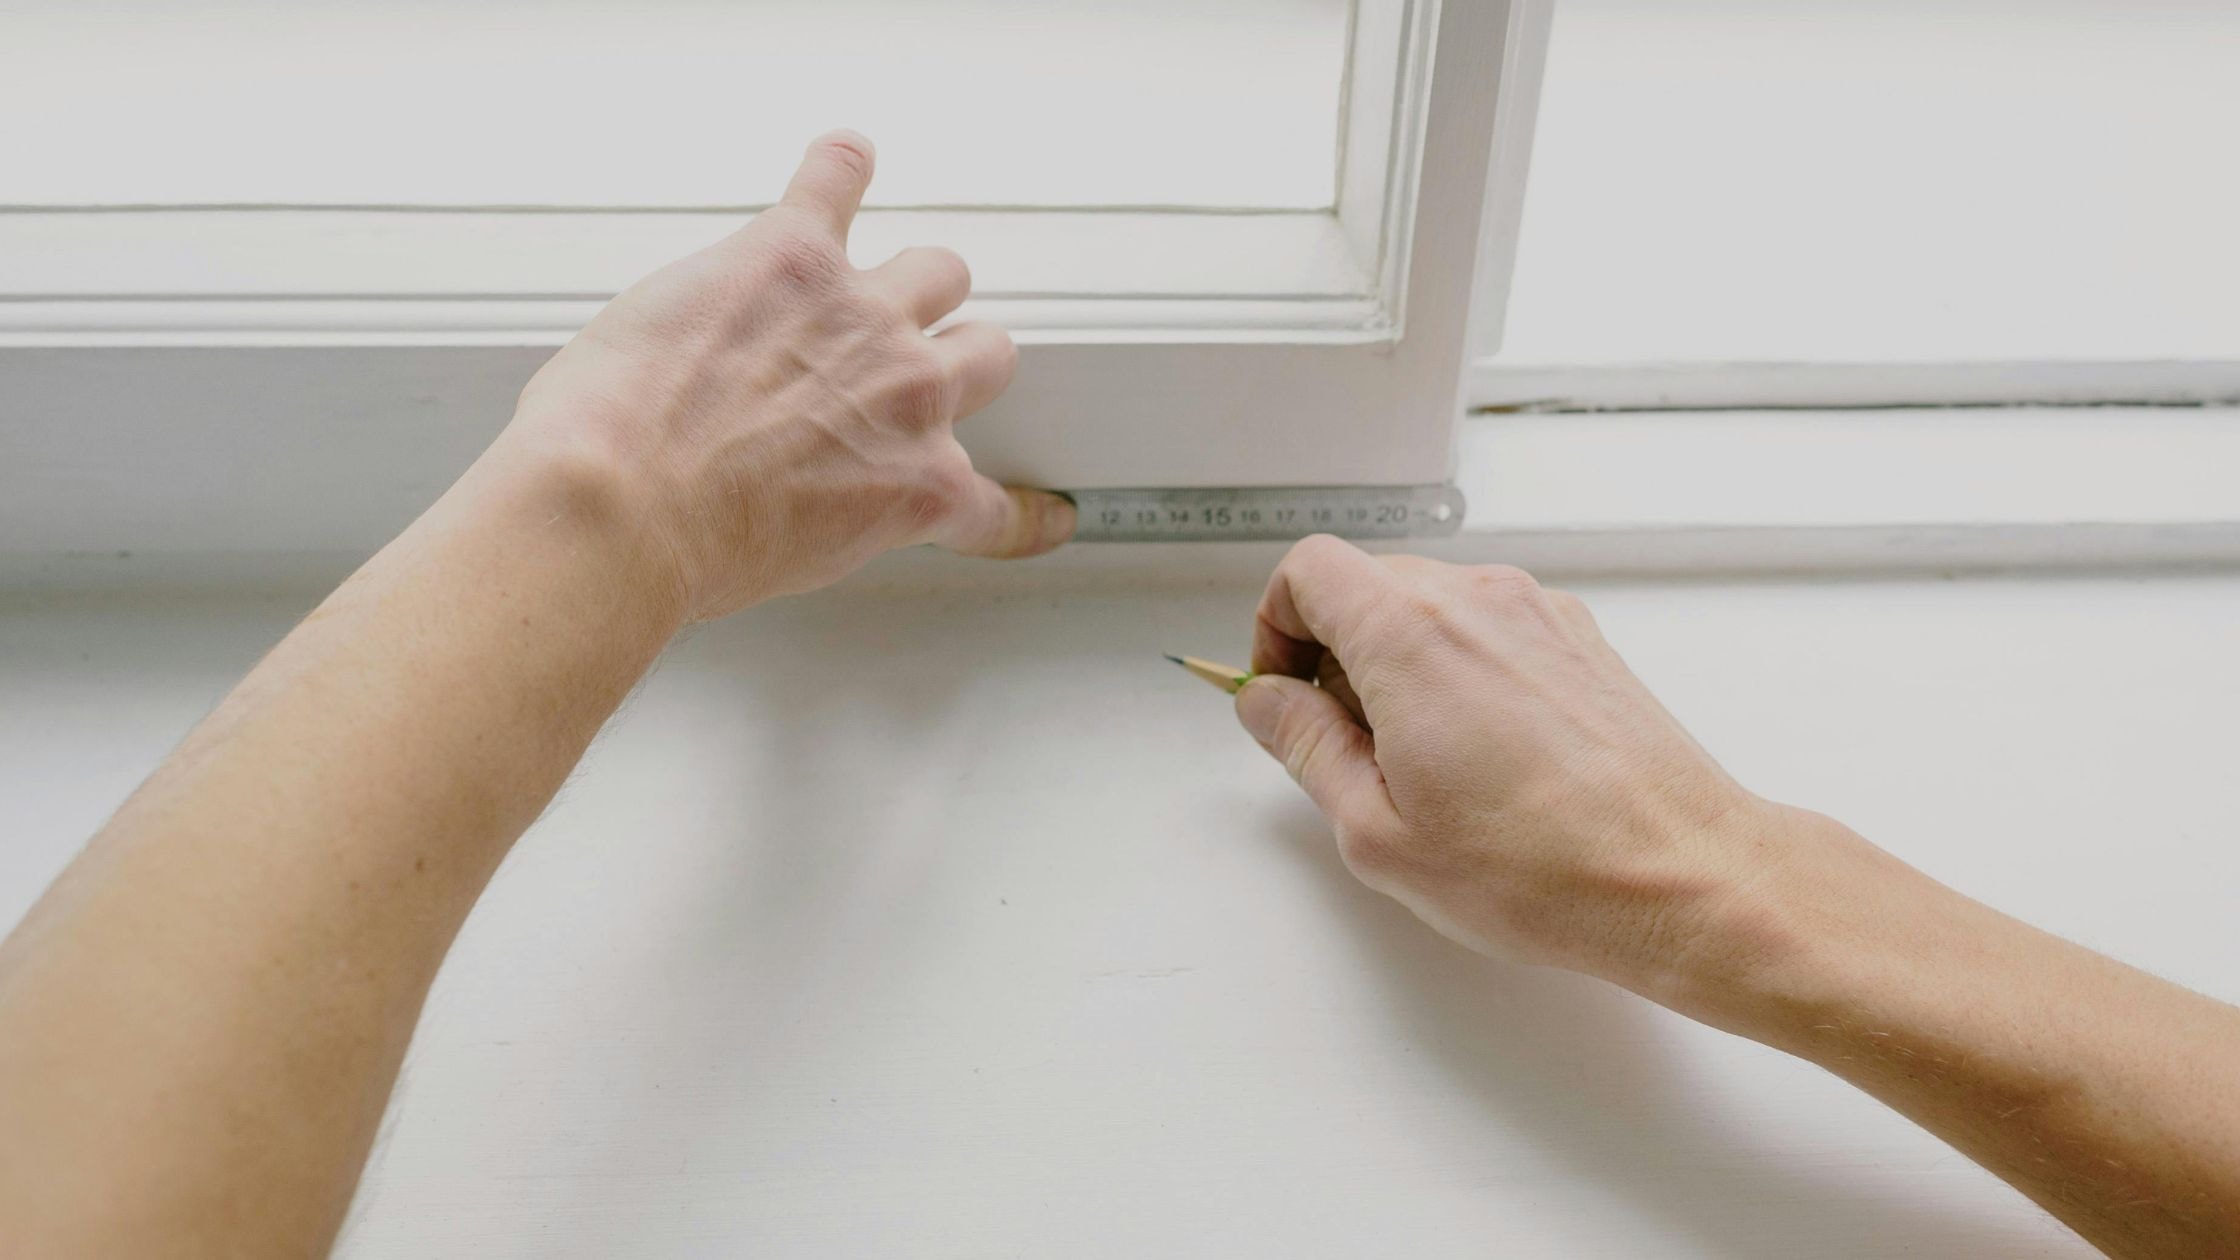
4. Consider the Depth of Your Window Frame
Depth is essential, especially if you’re installing double hung or sliding windows. Measure from the inside edge of the frame to the back surface of the trim strips or wall. This is particularly important when replacing new construction windows built during the original house construction.
Verify that the depth meets the minimum requirements for your chosen window style.
5. Understanding the Rough Opening vs. Exact Size
When measuring for replacement windows, consider both the rough opening and the window’s exact size. The rough opening includes the space between the wall studs, while the window’s exact size refers to the portion that fits snugly into the frame.
Replacement windows are typically smaller than the rough opening to allow for insulation and adjustments during installation.
6. Double-Check Your Measurements
It’s vital to review all your window measurements before placing an order. Double-check your width, height, and depth to avoid ordering the wrong size.
Did you know? Skipping this step can result in costly errors and delays. Spending an extra five minutes on rechecking measurements helps you save time and money in the long run.
Measuring for a Double Hung Window
Measuring a double hung window follows the same principles as other types, but it’s important to take note of features like sashes or the parting strips between the upper and lower panels. Make sure your measurements account for these components to ensure a proper fit.
Common Mistakes to Avoid When Measuring for Replacement Windows
Skipping the Rough Window Opening Check
Ignoring the rough opening can lead to issues when installing windows, especially in older homes where the window frame or structure may have shifted over time. Even if you have the most accurate window size, it won’t fit properly if the rough opening isn’t accounted for. Always inspect and measure the rough opening before moving forward.
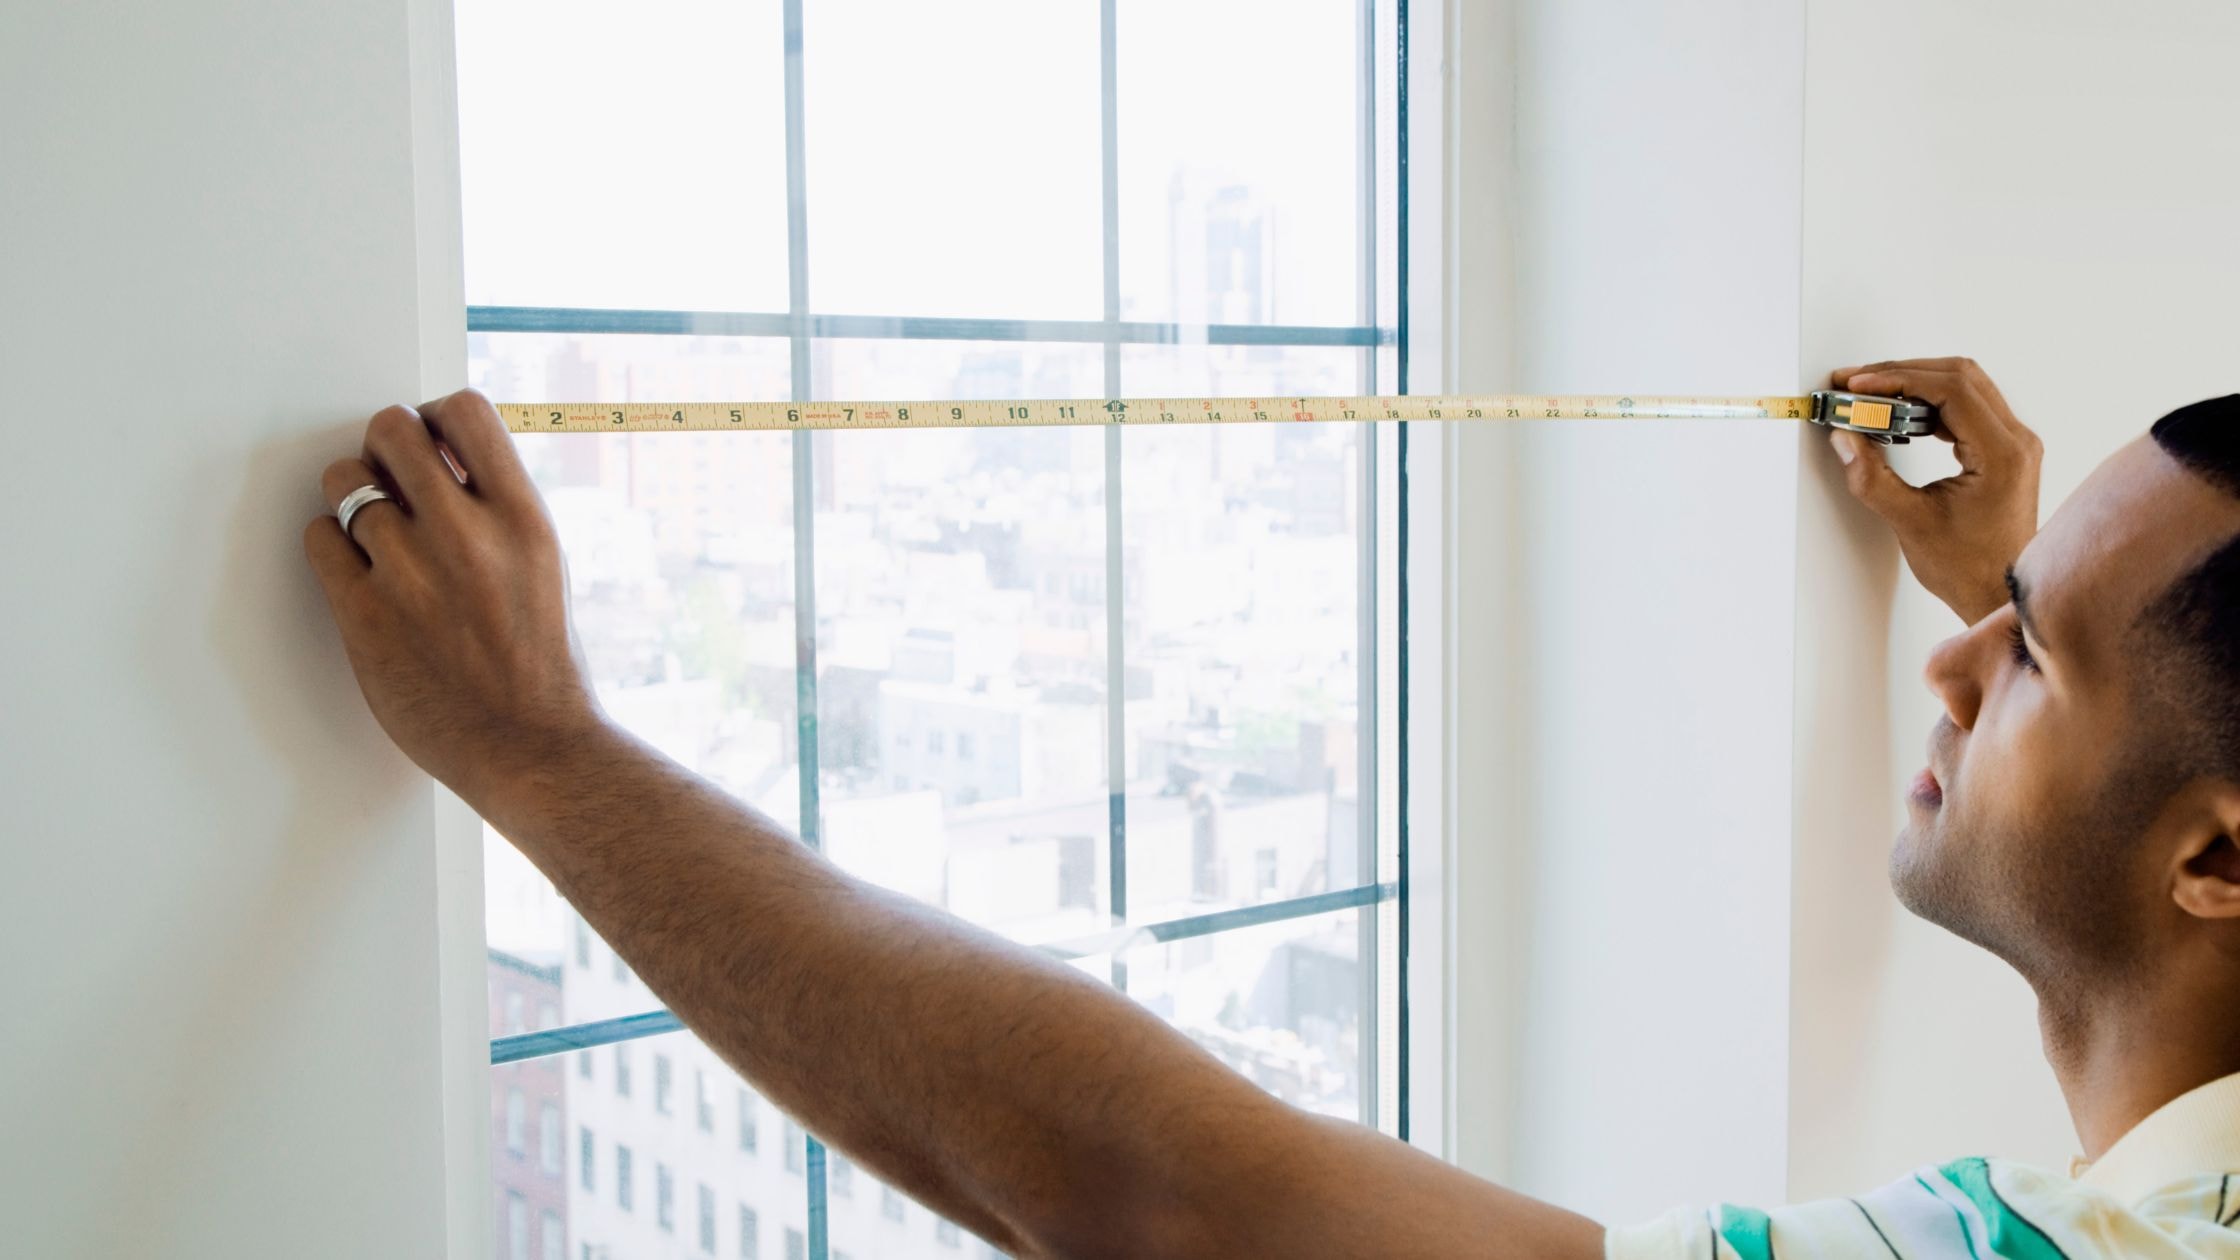
Only Taking One Measurement
Measuring just once can result in inaccurate dimensions, especially in cases where walls or frames aren’t perfectly straight. To ensure precision, take three separate measurements for both the width and height—one each at the top, middle, and bottom. This method helps you avoid relying on an outlier measurement and gives you the most consistent result.
Including Trim in Window Measurements
A common mistake is measuring the trim as part of the window frame. The trim is purely decorative and doesn’t contribute to the actual dimensions needed for the window installation. Make sure your measurements focus only on the window frame itself to avoid ordering the wrong size.
Want Better Energy Efficiency?
Replacing old windows with new ones designed for energy efficiency can lower your utility bills and increase comfort at home. For more information on the benefits of energy-efficient windows, check out this article on The Benefits of Energy-Efficient Windows for Your Home.
When Should You Call a Professional?
While DIY measurements work in many cases, some projects may require guidance from window experts. If your window frames are damaged, you’re unfamiliar with old windows, or your house has custom construction, consider consulting a professional.
For detailed help with replacement and installation, check out The Ultimate Guide to Window Installation. It offers advice on the process, tools, and what to expect during your project.
How Accurate Measurements Save Time and Money
Measuring your window opening accurately is crucial for ordering the right windows, avoiding installation issues, and enhancing security and energy efficiency in the long run. Every dimension matters, so take your time to get it right. If you’re unsure or want to ensure precise results, consider hiring a professional. An expert can save you time, reduce errors, and guarantee your project is done to the highest standard.